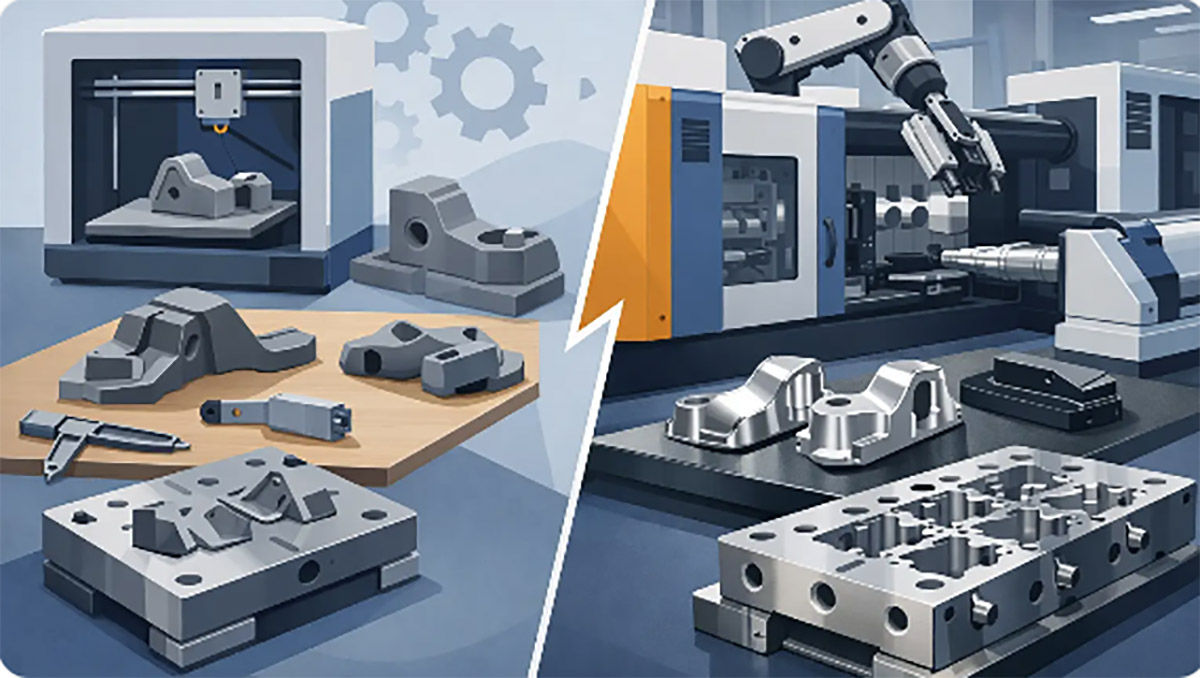
Injection molding cost examples show how tooling, material, cycle time, and volume affect part pricing, from pilot runs to mass production for quotes.

A
$2 plastic part can require a $20,000 tool, while a $20 part may be the more
economical choice for a short production run. Injection molding cost examples
are only useful when tooling, volume, resin, geometry, and quality requirements
are considered together. Looking at piece price alone can lead to the wrong
manufacturing decision.
For product teams and
procurement managers, the practical question is not simply, “What does
injection molding cost?” It is, “What will this specific part cost at the
volume and timeline we need?” The answer changes materially between 500 parts,
10,000 parts, and 250,000 parts.
What Makes Up an Injection Molding
Quote?
An injection molding quote
generally has two cost categories: one-time costs and recurring production
costs. The one-time category typically includes DFM review, mold design, tooling steel or aluminum,
machining, mold fitting, sampling, and any required mold adjustments. Recurring
costs include plastic resin, machine time, labor, secondary operations, inspection,
packaging, and freight.
A mold is often the largest
up-front expense. Its price is driven by part size, number of cavities, tool
material, parting-line complexity, side actions, texture, required tolerances,
and expected production life. A simple one-cavity tool for a small part is
fundamentally different from a hardened, multi-cavity production mold with
slides and automated ejection.
Material selection also has a
direct effect on recurring cost. Commodity resins such as polypropylene and ABS
are usually less expensive than engineering materials such as PC, nylon, POM,
PPS, or glass-filled compounds. Material cost is not only the resin price per
pound. It also includes the part weight, runner waste where applicable, color
additives, moisture control, and scrap rate.
Injection Molding Cost Examples at
Different Volumes
The following examples use simplified assumptions to
illustrate cost structure. They are not fixed price benchmarks. Actual pricing
will depend on part design, tolerance requirements, annual demand, finish
requirements, and whether assembly or other processes are included.
Example 1: Low-volume pilot run of
1,000 parts
Consider a small ABS electronics enclosure,
approximately 4 by 3 inches, with 2 mm nominal walls, several internal screw
bosses, and a snap-fit cover. The design is suitable for molding but does not
need a high-cavitation production tool yet.
A practical option may be a
one-cavity aluminum or pre-hardened steel prototype tool. Tooling could fall in
the range of $6,000 to $12,000, depending on the parting line, texture,
inserts, and any side actions needed for undercuts. For this example, assume
tooling is $8,000 and recurring manufacturing cost is $2.80 per part.
At 1,000 units, production
cost is $2,800. The project total is $10,800, or an effective cost of $10.80
per part before freight and taxes.
This result can appear
expensive compared with the $2.80 production price. But the tool cost is being
spread over only 1,000 pieces. For early market testing, a pilot program, or
pre-production validation, that can still be commercially sound. The
alternative might be machining, SLA, SLS, or silicone tooling, each with
different surface finish, material, tolerance, and unit-cost trade-offs.
Example 2: Mid-volume run of 25,000
parts
Use the same enclosure after its design has been
validated. The customer now needs 25,000 parts over a 12-month period. A
two-cavity production tool can reduce cycle-related machine time per piece and
support more consistent output.
Assume the two-cavity mold
costs $18,000. The recurring cost falls to $1.35 per part because the machine
produces two parts per cycle and setup cost is allocated across a larger order.
The production cost for 25,000 pieces is $33,750.
The total project cost is
$51,750, creating an effective cost of $2.07 per part. The per-part cost has
dropped sharply, even though the tool itself costs more than the pilot tool.
This is where mold strategy
matters. A low-cost single-cavity tool may look attractive initially, but it
can become a bottleneck when demand increases. Conversely, investing in a
multi-cavity mold before demand is proven can tie up capital unnecessarily. The
best tooling plan should follow the expected production ramp, not just the
first purchase order.
Example 3: High-volume production
of 250,000 parts
Now consider an established consumer product requiring
250,000 polypropylene components annually. The part is simple, has no
undercuts, and can be designed for a four-cavity tool with a hot runner system.
Cycle time, resin efficiency, and automated handling become primary cost
drivers.
Assume the hardened production
mold costs $55,000. The recurring cost is $0.34 per part, including resin,
machine operation, standard inspection, and bulk packaging. Manufacturing
250,000 parts costs $85,000.
The combined first-year cost
is $140,000, or $0.56 per part. In later years, if the tool remains in service
and only normal maintenance is required, the cost approaches the recurring
production price rather than the first-year effective price.
At this volume, a few seconds
of cycle-time reduction can have a measurable financial impact. A design change
that removes a thick section, improves cooling, or eliminates a manual trimming
step may save more over the program life than a small reduction in initial tool
cost.
A Simple Cost Comparison
|
Production scenario |
Tooling assumption |
Recurring part cost |
Total project cost |
Effective cost per part |
|
1,000 ABS enclosures |
$8,000 |
$2.80 |
$10,800 |
$10.80 |
|
25,000 ABS enclosures |
$18,000 |
$1.35 |
$51,750 |
$2.07 |
|
250,000 PP components |
$55,000 |
$0.34 |
$140,000 |
$0.56 |
The table shows why
high-volume injection molding is usually cost-effective, but not automatically
the right starting point. The volume forecast needs to be credible enough to
justify the tooling investment.
Design Decisions That Change the
Cost
Part geometry affects both mold complexity and cycle
time. Uniform wall thickness is one of the most valuable cost-control measures
because it supports predictable filling and cooling. Thick areas can cause sink
marks, warpage, and longer cycles. Ribs and gussets generally provide stiffness
more efficiently than adding wall thickness.
Undercuts are another major
consideration. A part may require side actions, lifters, collapsible cores, or
manual inserts to create features that cannot release directly from the mold.
These mechanisms increase tool cost, maintenance requirements, and sometimes
cycle time. An undercut is not always avoidable, but it should be intentional
and justified by product function.
Tight tolerances also require
care. Injection molded parts change dimensions as resin cools, and different
materials shrink at different rates. Specifying precision only where it affects
fit, sealing, movement, or critical function prevents unnecessary tooling and
inspection cost.
Surface finish has similar
trade-offs. A polished cosmetic surface, molded texture, laser marking, pad
printing, painting, and plating each add requirements to the tool or secondary
process. For a consumer-facing part, these choices may be necessary. For an
internal bracket, they may add cost without adding value.
Costs Often Missed in Early
Estimates
The molded part is not always the finished component.
If a product requires threaded inserts, ultrasonic welding, overmolding, pad
printing, labels, assembly, functional testing, or retail packaging, those
operations should be included in the project cost from the start.
Quality requirements can also
change the quote. Standard dimensional inspection is different from documented
first article inspection, traceability by resin lot, controlled cosmetic
standards, or 100 percent functional testing. For regulated, automotive,
medical-adjacent, or high-visibility consumer applications, a clear quality
plan is usually less expensive than resolving inconsistent requirements after
production begins.
Freight and inventory are
commercial factors as well. A lower unit price can be offset by oversized
packaging, high storage needs, expedited shipping, or ordering more stock than
the sales forecast supports. When evaluating suppliers, compare the delivered
program cost rather than one isolated line item.
How to Use These Examples When
Requesting a Quote
A useful RFQ should include a
2D drawing or 3D CAD file, material preference, annual volume forecast, target
order quantity, cosmetic requirements, color, critical dimensions, expected
product life, and any secondary operations. If a design is still changing,
state that clearly. It may be more appropriate to begin with prototype manufacturing or bridge tooling before
committing to production tooling.
A manufacturing partner can
also review the design for moldability before the tool is cut. DFM feedback often identifies
avoidable issues such as insufficient draft, inconsistent wall thickness,
unsupported bosses, difficult gate locations, or features that create
unnecessary side actions. Addressing these items during the design phase is
generally faster and less costly than modifying a completed mold.
The most useful cost target is
not the lowest opening quote. It is the cost structure that fits the product's
actual demand, performance requirements, and path from validation to stable
production.